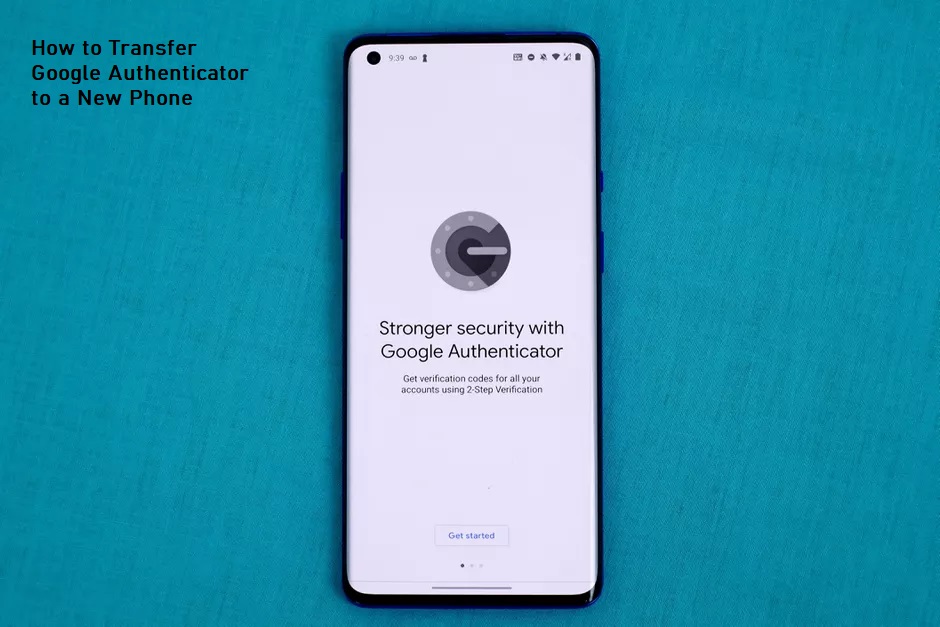
How to Transfer Google Authenticator to a New Phone. Google Authenticator is an increasingly important tool to a lot of people. It adds two-factor authentication to vital accounts by making sure you need to make use of your smartphone in other to enter a randomly generated key alongside your usual password.

With great power comes complications, though. Let’s say, what happens if you need to switch smartphones? Fortunately, it’s fairly easy to transfer Google Authenticator to a different device, even if it might actually feel a little bit nerve-wracking.
We’re on hand here to guide you through all the steps required to switch your Google Authenticator over to a new phone. The biggest rule that you need to remember: don’t delete Google Authenticator from your old phone until it’s successfully transferred across.
How to Transfer Google Authenticator to a New Phone
It doesn’t actually matter if you are making use of an Android phone or iPhone, the process remains very similar. Here is what you are required to do.
- First, open Google Authenticator.
- Tap the three dots located in the upper-right corner to bring up a drop-down menu.
- Tap export accounts. On some devices, this might actually be called Transfer Accounts but the same process applies.
- Tap on Continue or export Accounts to get past Google explaining what it means for you to export an account
- On some devices, you might be required to confirm your identity again, either via Face ID, Fingerprint ID, or by entering the password or Pin of your Phone.
- Select the account that you wish to transfer to your new device. You don’t need to transfer them all at the same time, but if you plan on selling or discarding your old phone, you almost certainly want to transfer the whole thing to be safe.
- Tap Export. Still not sure if that is what you are looking forward to doing? Don’t Worry. You’re still not committed to anything.
- A QR code will appear right on your screen and your screen would get much brighter. Scan that code using the Google Authenticator app that is on your new phone to get it added on.
- In other to get that point, you would be required to tap Get started on the new Phone right before tapping import existing accounts. Tap Scan QR code before scanning that QR code right on your old phone. You’ll need to do this for each of the accounts but Google Authenticator Simplifies the process by listing each barcode as you go along.
- Once you have gone through all that process on your old phone, tap next to move on to one of the last steps.
- Now you get to choose to remove all the exported accounts or whether to keep them right in your old device. If you have any plans on making use of your old device, it could actually be worthwhile keeping them.
- If you wish to sell it though, delete them. Also, don’t forget that the more devices you have set up for Google Authenticator, the less secure it might be. Obviously, that’s assuming someone has the password to your phone.
What If You Don’t Have your Old Phone
Lost your old phone, or it doesn’t work anymore? Well, don’t worry. There are some ways that you can use to regain Google Authenticator and make use of it on a new device.
If you happen to possess backup codes, you can choose to enter the codes on the new device, and you are set. Not sure where to put those codes? First, you need to log in to your Google Account then click on security. From that point on, scroll down to 2-step verification and enter your password. On the next page, scroll down to backup codes and click on show codes in other to get your Pre-existing backup codes to add to your new device.
There are about 10 codes, and each of those codes can be used only once. It is quite possible to generate new ones though by clicking on show codes then clicking Get new codes.


