Sometimes, all you might need is just a break from the constant attacks of iPhone notifications. Especially when you want to relax or just wind down for the night, getting constant notification noise is the last thing that you would want to get yourself interested in. In this kind of situation, what you need is how to use do not disturb feature on iPhone.
The Do not disturb feature on iPhone allows you to set the time when no calls or notifications would get through. You of course can change the settings so that notifications from some apps or contacts would not get suppressed by Do not Disturb. Also, you can choose to set custom messages that would be sent automatically if people try to contact you while your phone is placed on this mode. Just as would be explained in this content, turning on iPhone Do not Disturb and customizing the settings is quite easy.
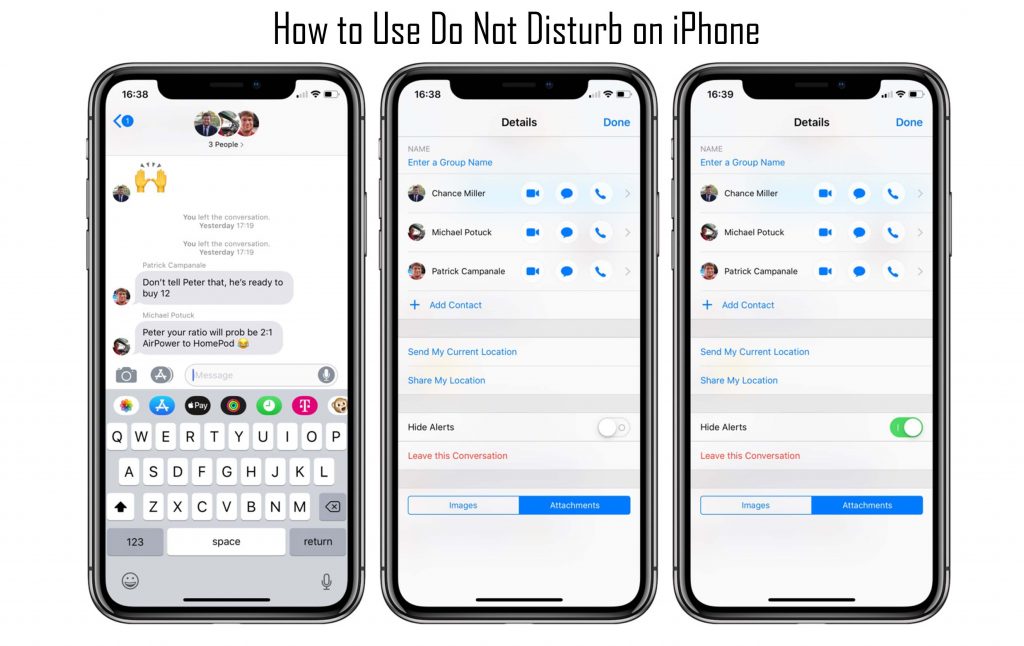
How to Use Do Not Disturb on iPhone
There are several ways to turn off you’re Do not disturb feature depending on how you wish to make use of the feature.
iOS 14 or Earlier
However, this can be done straight from the same screen in the iPhone’s Settings app. Below I would be stating how to turn on Do not disturb in iOS 14 or earlier.
- First launch the settings app
- Then scroll down and tap on “Do not disturb.”
- After that, turn on “Do not Disturb” by toggling right on the green button to the right of the menu option. Tapping the same toggle switch would once again turn the feature off once again. You can choose to turn on and turn off the “Do not disturb” feature by swiping to open the Control center and tapping on the crescent moon icon.
- Tap on the “Scheduled” slider to add specific times during which you want Do Not Disturb to automatically turn on and off.
iOS 15 or Newer
If you are making use of the iOS 14 or Newer, the process involved in turning off Do Not Disturb feature is quite different. The process includes:
- First, launch the Settings app and tap on “Focus.”
- Tap “Do Not Disturb.”
- After that, change the notifications options to suit your needs.
Right on the iOS 15, you also can make use of the control center for this by tapping on Focus and then Do Not Disturb.
How to Customize Do Not Disturb on your iPhone
Apple would allow users to customize their phone’s Do Not Disturb feature so that it would meet their specific needs. To add, to the aforementioned scheduling feature, users get to, for example, allow calls from certain contacts to ring through even when the Do Not Disturb is on, ensuring that they would not miss a call from their kids or their boss.
Also, the feature includes customization options for when calls are silenced, How Do not Disturb is activated while driving, which apps trigger the settings automatically, and more.
The customization features are found right on the same settings menu where the “Do Not Disturb” can be turned on and off. Well, the appearance and exact settings available in this iPhone menu would vary depending on whether you are running the iOS 15 or a much older version of the operating system.
Just as shown in the image shown below, iOS 15 is expected to include automation for the Do Not Disturb making it possible to, let’s say have your iPhone automatically silence notifications when you arrive at work, the library or when you launch your favorite reading app.


