Before we get to How to Use Multiple Monitors in Windows 11, let us first talk about the Monitor. When your purchase a monitor for your PC, one of the major considerations aside from price is most likely the size, main so that the monitor can fit right on your Desk. While there are tons of things to be said in favor of a large monitor, the cost can come in as an issue.
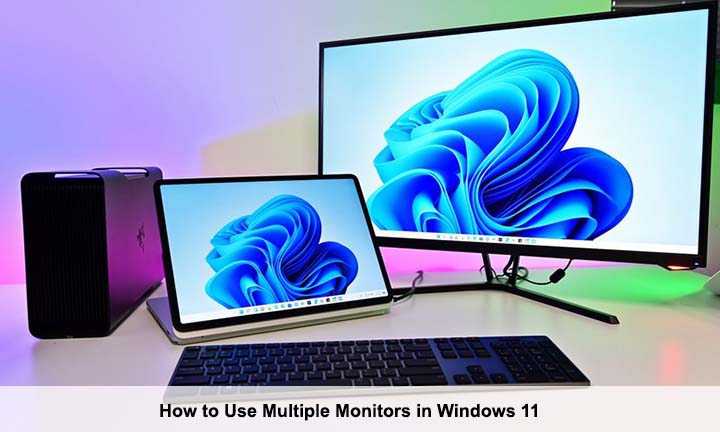
How to Use Multiple Monitors in Windows 11
You might well find that it is a lot cheaper to invest in two displays and take advantage of the fact that your windows 11 offers support for multiple monitors.
With two monitors or more connected to your computer, you would not just be able to benefit from being in possession of a larger workspace, you can also choose to make use of different displays in other to organize open apps on your windows.
It does not matter if you are making use of a desktop PC or a laptop, adding a second display could be one of the best moves that you make, so here is our guide to making sure that they all work with your PC.
Make Sure the Ports Match
These days, almost every laptop comes with an HDMI port, while OCs tend to have the option of connecting more than just one display with other types of display ports.
While the majority of the displays come with an HDMI port, there are other ports that can do just the same job including the DisplayPort or USB-C.
Let’s assume you are in possession of two monitors, you can start the process by connecting them to a power source, and then connecting them to your PC or laptop via a cable – like an HDMI, DVI, DisplayPort, or USB-C – or wireless connections.
Open Settings in Windows 11
By default, you should be able to find that your monitors display your desktop in a mirrored mode. This means that both show exactly the same content, so this is something that we would require to make multiple monitors more useful. Press Windows + I to launch the settings and click settings > Display.
You would be presented with a small illustrating fact that you have two monitors attached. Click on the Identify button and windows will briefly display a huge digit on each screen so you know the number 1 and which is the number 2.
Use the ‘Identify’ Option to Your Advantage
You can choose to make use of the diagram in display settings to tell windows how you have your monitors arranged right on your desk. If you have placed your monitors side-by-side, drag monitor number 2 so it is to the right of monitor 1; if you have one monitor right above the other, drag the icons of the monitors accordingly.
Once the monitor arrangement has been configured correctly, click on the image of your second monitor and use the drop-down menu next to the Identify button to select the extended desktop to this display option.
Test out the Result with Your Mouse Cursor
Now it’s time to see what the experience of working with the two monitors is going to be like. Assuming that you have followed the steps correctly so far and everything is connected properly and configured, you should be able to move the cursor of your mouse from one display to another.
That would be found when the cursor reaches the edge of the screen that adjoins the secondary display, this simply reappears on this second monitor. You would actually find that the cursor does not move in a perfectly straight line as it moves between monitors, and you might be required to tweak the position of your displays to correct this.
Decide Which to Make Primary Display
Alongside the basic configuration of multiple monitors, you can choose to go ahead and change more settings to make the experience much better for you. Whichever monitor you have as your main display is the one that your taskbar would show on by default – although you can choose to opt to have it shown right on all the monitors.
To make changes to the monitors that are being used as the primary display, click the multiple displays section right on the display settings, then be sure to have the relevant monitor selected, and check the box labeled Make this my main display.
Select Which Apps to Show on Certain Displays
While you remain in this section of settings, you can choose to change the application which will run when windows start up on a certain display. By default, windows would remember which of your monitors you have been using for a particular application, and the next time you choose to launch it, it would be opened right on that same display.
If you prefer this not to happen, uncheck the box that is labeled Remember window location based on the connection of the monitor. If you choose to disable the minimize windows when a monitor is disconnected when you unplug a monitor, windows that were open on it will simply be transferred right to the next available monitor without having to minimize them. More details can be gotten from TechRadar.


