Are you interested in How to Test for Dead Pixels on The Oculus Quest 2? Dead pixels on LED and OLED screens, that distracts from the view of the screen in question, might not come to mind immediately as every gamer’s worst nightmare – the winner of that content would most likely belong to identity thieves found on steam.
Also Read: How to Stop Your Xbox Series X From Overheating
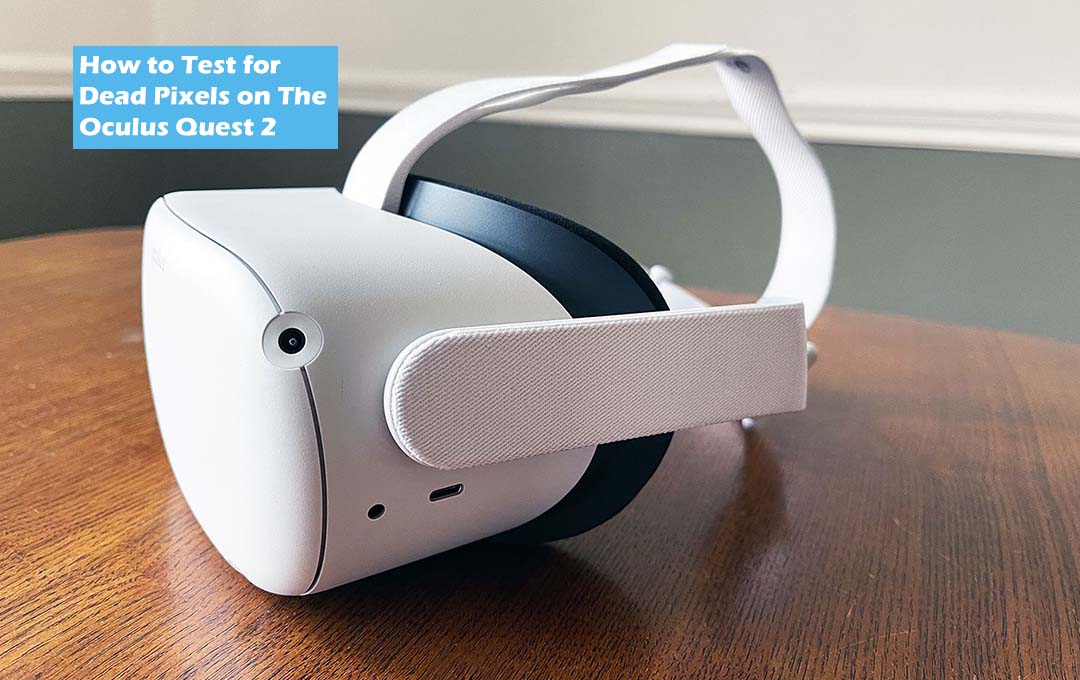
How to Test for Dead Pixels on The Oculus Quest 2
But it is still a pretty annoying inconvenience to see a dead pixel that remains the same color no matter what occurs on the screen. This seems to be the case when dead pixel pops up on the surface of a handheld gaming console like the Nintendo Switch or Steam Deck, or when they form up inside a VR headset like the PlayStation VR or the Oculus Quest 2.
Unless you have been given the opportunity to play on a wide variety of devices, you actually might not even be aware of what a dead pixel is, in which case you are expected to consider yourself lucky. However, it remains fair for you to assume that everyone would run into a dead pixel or two at some point. We can be faced with Dead Pixels when we expect it the least, sometimes just within a few hours or minutes of booting up a freshly unpacked device.
Just one discolored pixel would possess an overall negative effect on your oculus Quest VR experience, and this just might range from anywhere from annoying to entirely disorienting, though you may not be aware of the number of dead pixels that you have got lodged right into your headset till you do quite a bit of additional testing.
Also Read: Sega Genesis Mini 2 US Release Date Confirmed
Testing in the Oculus Browser
If you are not yet sure whether your oculus quest 2 has a piece of dust right inside the lens or if it legitimately fell victim to a dead pixel, there is a way that you can test your theory on the Oculus web browser.
- First, you need to log into your Oculus Quest 2 through any means necessary. It is a great idea for you to set up a passcode if you don’t have one already
- Head right to the Oculus Browser app
- Go to the URL “http://www.immersha.com/webvr/vr-pixel-test.html”
- Point and then click the mask icon located at the bottom right corner of the screen
- Set the VR mode to 3D 360
- Watch the solid colors shift between each of the bright colors in the circulation so that you would be able to get a solid overview of which of the pixels are stuck in which color(s).
- Take a look at the dark blots or ultra-light dots in your peripheral vision that stick out like microscopic sore thumbs; these cells could very well likely be dead pixels. Remember to close each eye individually so that you would be able to get the best view of each lens.
Also Read: Prime Gaming – Free Content Available with Amazon Prime Service
Fixing a Dead Pixel
At the moment, it seems like fixing a dead pixel by yourself is a great option for owners of the Oculus Quest 2 headset. Some internet users are suggesting following the tips that are shown in this video, which absolutely should not be viewed by persons with sensitivity to flashing lights. But it appears that some Reddit users have commented that the method the video carries may not work when it comes to the Oculus Quest 2 out of any dead pixel issues if they occur.
If you happen to be faced with a dead Pixel on your Oculus Quest 2, however, there is still hope. Each Oculus Quest 2 comes loaded with a free one-year warranty period, during which you are expected to take your quest 2 back to the store and get it repaired professionally or replaced, though it might depend on where you bought it from initially.
Also Read: How to Fix Data Issues On Steam: Monster Hunter Rise Reset


