Are you also unaware of how to record screens on a PC? Don’t worry, we will make you master the art of recording screens on your PC with our comprehensive guide, so stay plugged in!
If you are one of those who is engaged in work like content creation or making presentations or tutorials, then mastering the art of recording screens is essential for you. Screen recording can enhance the significance of your projects. There are plenty of tools available for recording screens on the internet. However, some of the tools may not provide you with enough features that you may require.
To make you proficient in this art, we have come up with a comprehensive guide on how to screen record on a PC effortlessly with essential tips, tricks, and tools. So, what are you waiting for? Let’s jump in!
| Navigation
2: Third-party Screen Recording Software for PC
3: How to Screen Record on PC: Step-by-Step Tutorials
The Bottom Line |
Part 1: Built-in Screen Recording Features on Windows PC
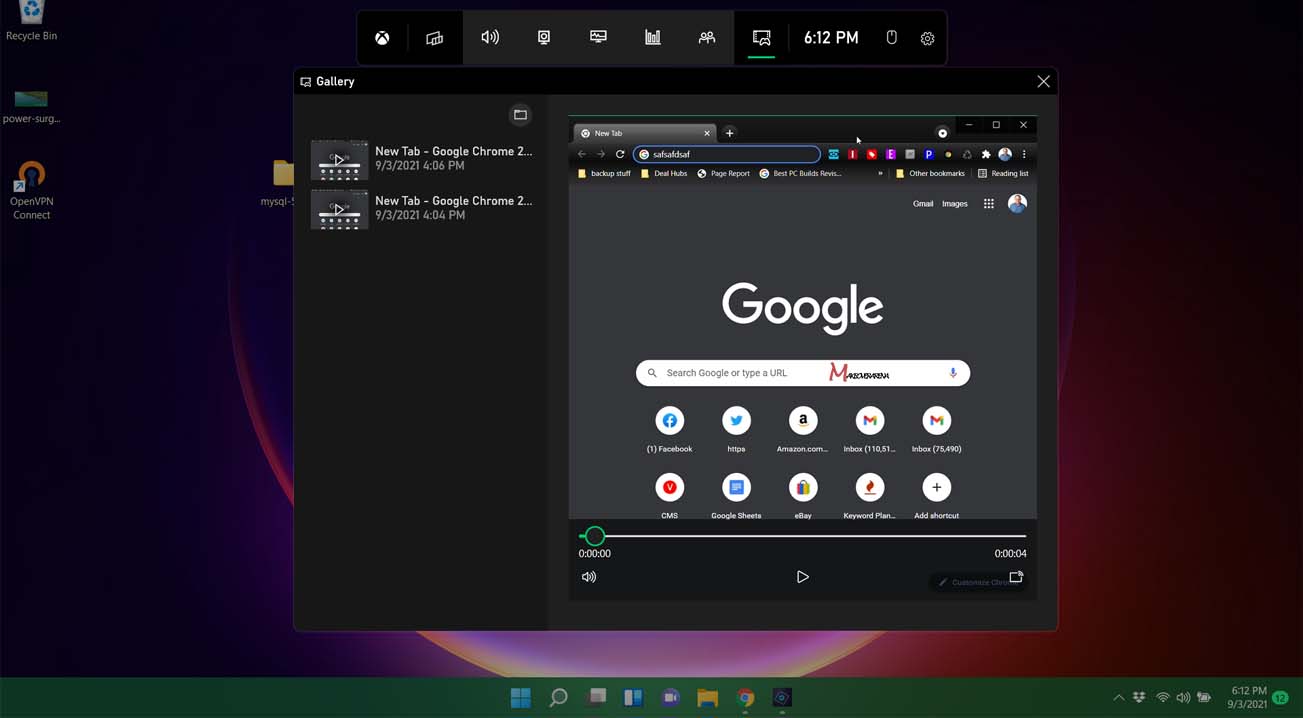
If you are a Windows user, you must have heard about the Windows built-in screen recorder, the Xbox Game Bar. If not, then we will introduce you to window’s built-in screen recorder for PC and how to use it. Check the steps below:
Step 1: Open the window that you wish to capture.
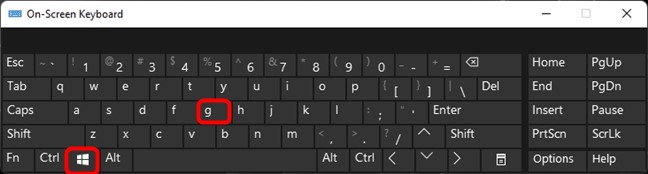
Step 2: To access the Xbox game bar’s overlay, press the Windows key + G.
Step 3: To use the recording features, confirm that you are recording for a game, even if it isn’t.
Step 4: By clicking the record button, you can start recording.

Step 5: use the “STOP” button to end the recording.
Tips and tricks for optimizing recording settings for better quality in Windows
You can record in better quality in the Xbox Game Bar using some tips and tricks mentioned below:
- Choose the highest resolution supported by your system.
- To get smoother recordings, set a higher frame rate; typically, 30 fps is recommended.
- To get rid of the background noise, select the right audio input source and adjust levels accordingly.
- For better recording quality, increase the bitrate settings.
Part 2: Third-party Screen Recording Software for PC
If you are not satisfied with the Windows built-in screen recorder, then don’t worry; there are plenty of third-party screen recording software for PCs that will make your work easy. We will introduce you to some of the best third-party software for recording screens. Check them:
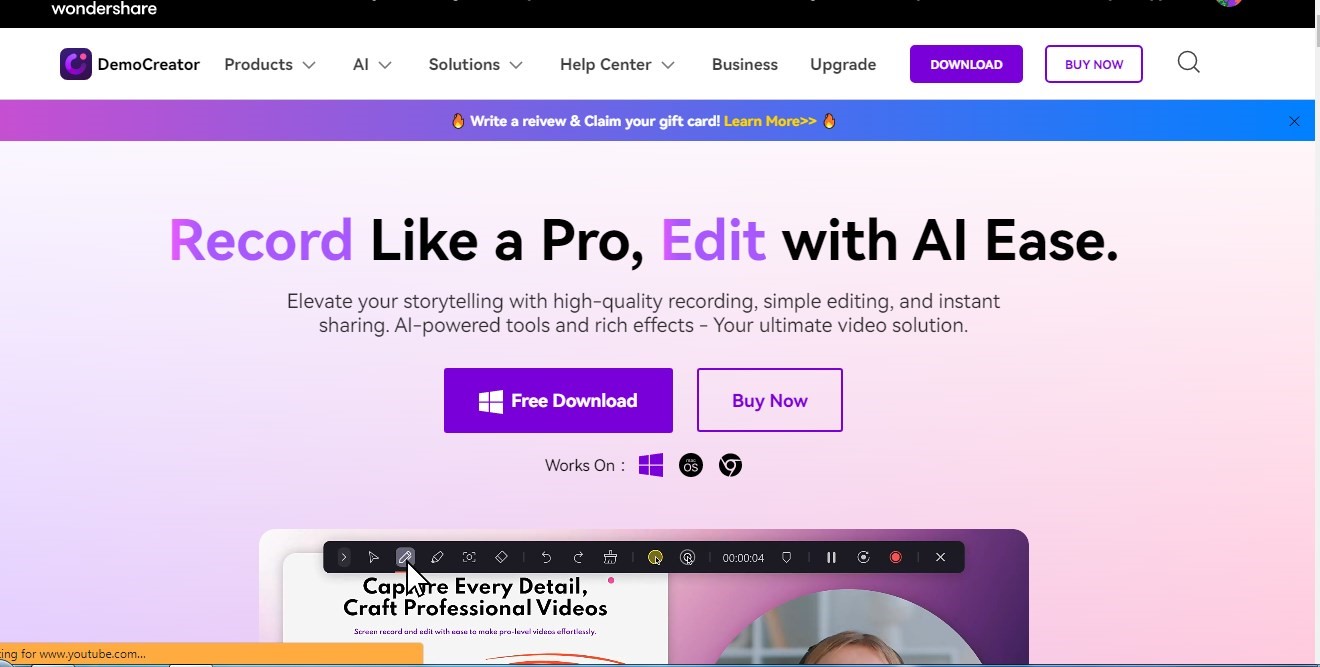
- Wondershare DemoCreator
Wondershare DemoCreator is the first app on the list. It’s an excellent application that allows you to record screens in high definition. With the help of this tool, users can simultaneously record their screen, audio, and webcam at up to 120 frames per second. It also allows users to edit the recorded videos by dragging and dropping media files to a timeline.
Key features:
- This tool allows users to record the screen in high quality with six different modes.
- It allows users to record themselves via webcam and screen recording simultaneously, giving an individual touch to lectures.
- This tool offers multiple editing features like annotations, transitions, text overlays, etc.
Price:
- Quarterly price: $29.99
- Annual Price: $59.99
- Lifetime price: $75
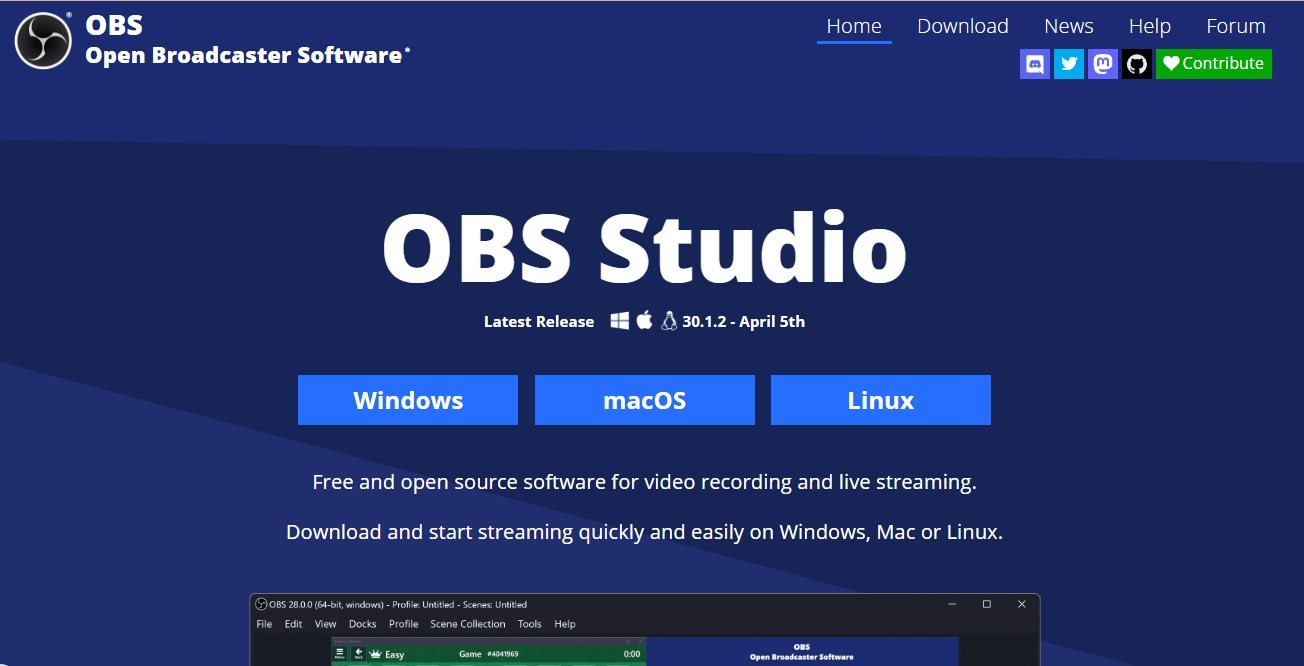
- OBS Studio
OBS Studio is an open-source and free video recording application. It’s a great streaming tool for gamers looking to achieve professional results. Also, it offers a wide range of options and has a user-friendly interface.
Key Features:
- There is no charge for downloading.
- You can use it for a variety of streaming and recording purposes.
- Only a basic hardware setup is required.
Price:
- No cost is required, as it is a free and open-source program.
- Flashback Express
Flashback Express is the greatest screen recorder program that lets you capture videos, audio, and webcams simultaneously on your screen. It also enables users to store the file in a format that is widely accepted. This software has several editing tools that you can use to emphasize the content you want to display. With Flashback Express, you can export your video in many different formats.
Key Features:
- Record a webcam, microphone, or screen of a PC.
- Can easily highlight key points and add captions.
- Video can be simply exported to various formats.
Price:
- 1-PC license: EUR 33
- 2-PC license: EUR 51
- 3-PC license: EUR 76
- 4-PC license: EUR 101
- 5-PC license: EUR 126
So, these were the third-party tools for recording screens on a PC. You can select them as per the needs and requirements.
Part 3: How to Screen Record on PC: Step-by-Step Tutorials
According to my personal experience, we recommend using Wondershare DemoCreator as your professional screen recorder for PC, since it is an all-in-one tool to record, edit, and share your content on social media.
Now, you must be wondering how to screen record on PC with DemoCreator. So, here we have prepared a step-by-step tutorial to solve this. Check it out:
Step 1: Download the most recent version of Wondershare DemoCreator from its official website and install it on your PC.

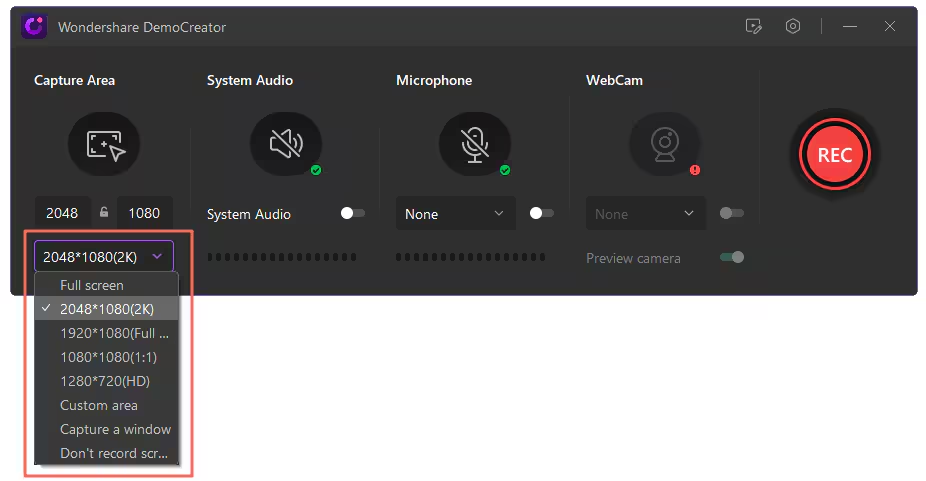
Step 2: Start DemoCreator after the installation process is finished. You can customize your recording settings in Wondershare DemoCreator.
For example, you can choose to record the whole screen. Or you can record a specific application window or a specific region of your screen.
The screen size and frame rate settings can be configured in the screen section located on the left panel.
Step 3: After making all the necessary adjustments, hit start capturing or F10 to start recording with a shortcut. The platform will pause for a short three seconds before recording starts.
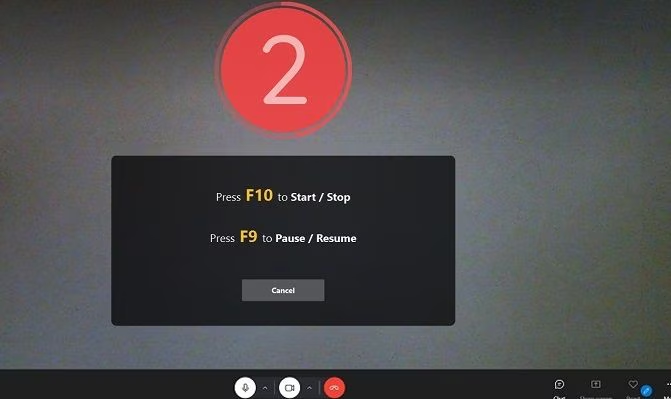
Step 4: Once the recording is finished, you have to hit F10 to stop it. Insert the video recording into the video editor on the platform.
Now that the video is in the editing stage, you may make several changes to it. For example, adding annotations, transitions, and text overlays.
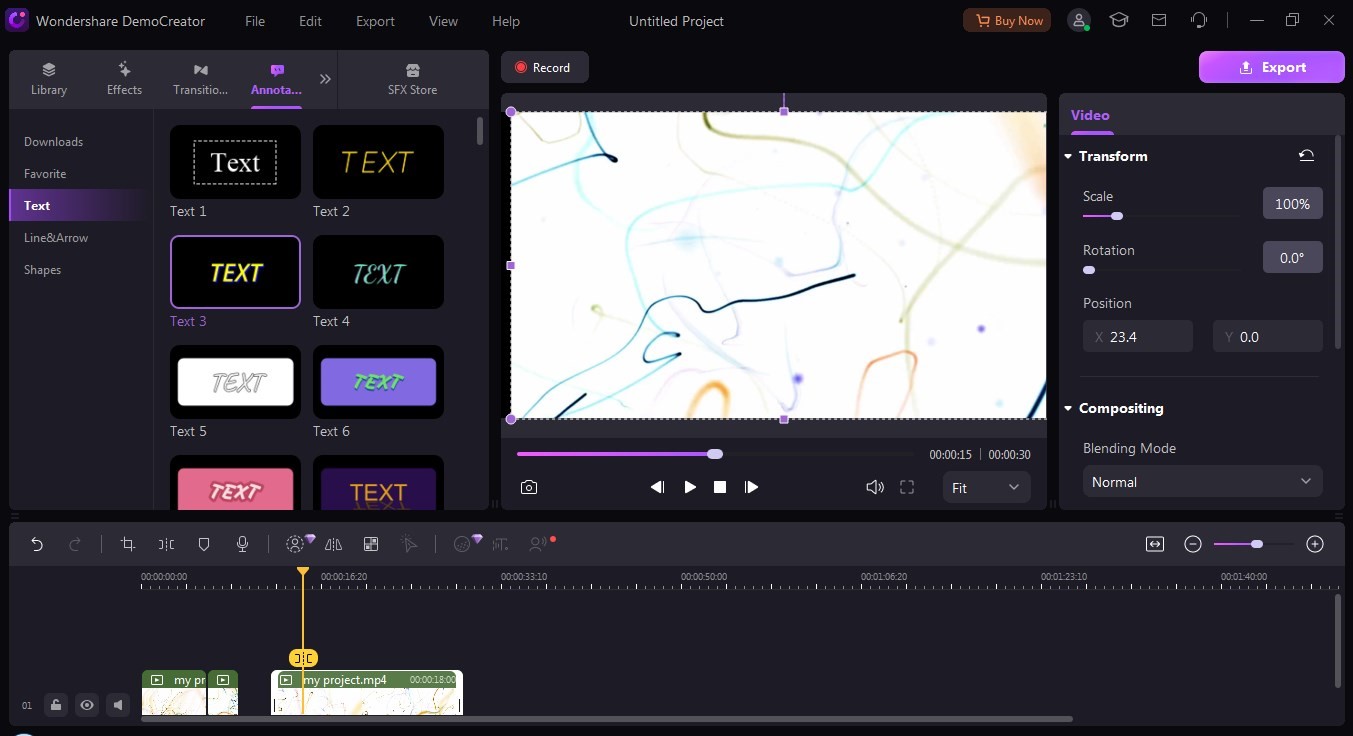
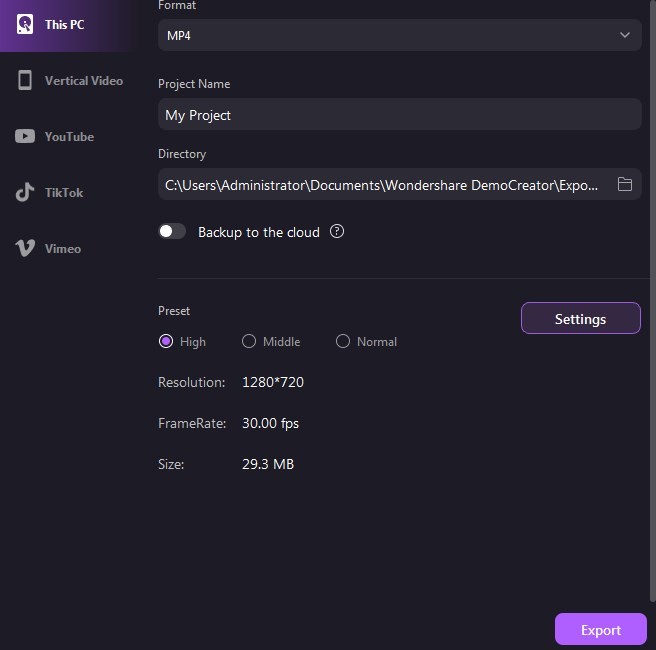
Step 5: After the editing is complete, you can save the video to your desktop. Navigate to the export window and begin the saving process to do this. You can configure the video’s file type, name, and location.
You can also change the resolution, frame rate, bit rate, number of channels, and sample rate of the video that you’re saving.
The Bottom Line
After going through our guide, you must have decided which recording tool is best for you
to record screen on a PC. Being proficient in this art is very useful for content creators or
businesses, as it opens up so many new opportunities. With many options available,
Wondershare DemoCreator distinguishes itself as the best screen recorder for a PC due to
its user-friendly interface. So download this wonderful software today and enjoy happy
recording!
CHECK THESE OUT:


