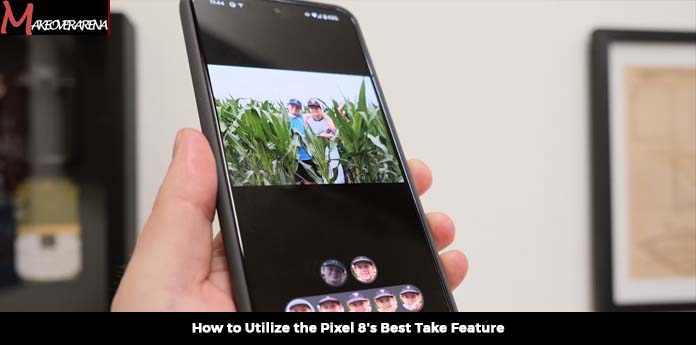
Transform your group photos to showcase everyone at their best. In photography, there are a few reliable truths, and one of them is that someone in a group photo will invariably blink or make an odd expression.

You might attempt capturing 20 photos in quick succession to boost the odds of getting a great shot, but that’s not a guarantee. Often, you end up with a photo that’s only somewhat satisfying. But what if you could blend your group photos, selecting the best faces from various shots in your series?
How to Utilize the Pixel 8’s Best Take Feature
This is the concept behind Best Take, the new editing tool in Google Photos, which has sparked some controversy.
Best Take is currently available on the Google Pixel 8 and Pixel 8 Pro, with the likelihood of older Pixel phones receiving it in the near future. The process is straightforward: you capture multiple shots of your group in the usual way and then, afterward, blend your preferred facial expressions into a single frame. It may sound a bit unusual, and it actually is, but it can be a real lifesaver, especially when photographing children.
To make Best Take work, you need to have a burst of very similar shots taken within a 10-second timeframe. The faces should be clearly visible and, for optimal results, not obstructed by objects or hands in any of the shots. Currently, it only functions with human subjects.
Compatibility Check for Best Take – Is Your Device Ready?
If your photos fulfill these conditions, follow the steps provided below to begin using Best Take. It was tested on a Google Pixel 8 with Android 14 and the October 2023 security patch.
- Open Google Photos and select the image you want to edit.
- Click the Edit icon at the bottom of the screen.
- Choose Tools and pick Best Take from the options shown.
- The tool will automatically provide some options. You can try them out by clicking on each suggested face and experimenting with different expressions.
- If the situation becomes too complex, just tap Reset to restore the image to its original state.
- Once you’re satisfied with your changes, tap Done to go back to the main editing screen.
- From this point, you can continue making more edits or save a copy of your image, and the original will always be kept.
Google Photos automatically selects the alternative faces it suggests, so you can’t manually choose a face from a specific photo. If you’re dissatisfied with the options when editing a photo at the end of your series, consider using Best Take on a photo from the beginning of the sequence to explore different options. It may also be possible to apply it to older images in your Google Photos library if they meet the criteria mentioned earlier, although it doesn’t work flawlessly in all cases based on my experience.


