Are you looking for a platform where you can set up a merchant account? If you are, then I have just the platform for you. The name of this platform is the Payoneer platform. In this article, the Payoneer merchant account, I will be revealing to you the basics steps needed in creating a Payoneer merchant account successfully.
Payoneer Merchant Account
Payoneer is a very popular platform. It is one of the best platforms for making both local and international transactions. Payoneer’s cross-border payments platform empowers various businesses, online store platforms, and freelancers to pay and also get paid both locally and internationally.
Why You Should Use a Payoneer Merchant Account
There are various reasons why you should set up an account. If you make use of international transactions, then you need to make use of this platform, you pay lower fees and save more of your money by reducing fees by 71%.
You also get to expand the reach of your business to many customers online by making it a payment method. If you have a local bank account, you can also receive payments easily and at a lower fee. Lastly, you can withdraw your earnings directly to your bank account in your local currency and also enjoy a 24/7 customer care service.
How to Set Up a Payoneer Merchant Account
Setting up a Payoneer merchant account is easy. All you have to do is to visit the Payoneer web platform and from there you can register an account. The account registration process is free and easy.
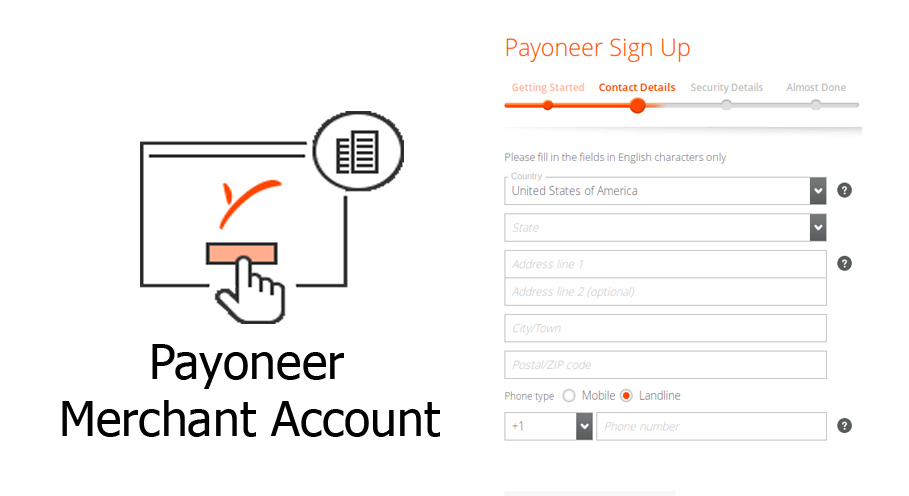
You will need an internet-enabled device in place in order to get this done. Creating an account on this platform requires you to complete four steps. The steps are the getting started step, the contact details step, the security details step, and lastly the ‘almost done’ step.
To successfully create your account, you will have to complete each and every one of the steps. To create an account, follow the steps below;
- Go to payoneer.com on your device.
- Click on the register or sign up tab.
- On the next page, enter the correct details into the required fields and click on next.
You will have to do this for the other steps by following the on-screen instructions. And when you are done your account will be created successfully.


