Are you looking for How to sign documents on Android? So many important documents are no longer existing as hard copies, therefore, having a method of adding a digital signature can be crucial for getting the ball rolling on work projects, renting or buying a home, and many more scenarios. We will be talking about android devices since iOS devices has an inbuilt feature for that.
How to sign documents on Android
There are a lot of Apps that can handle signatures, including some of the big ones like Sign Now, DocuSign, and Adobe Sign. These all do the job, and their paid subscriptions allow access to extra enterprise-focused features if you plan to use the service a lot in your line of work.
However, for the average person who just needs the ability to scribble a signature on a PDF and little else, we recommend either Adobe Acrobat Reader or Adobe Fill and Sign.
Although both apps prompt you to sign in or make an Adobe account, you can quit out of this menu and use them without an account. Handy if you need to add your signature to some documents as soon as possible, or don’t fancy handing over your details to Adobe.
How to sign documents on Android with Adobe Acrobat Reader
- Once you open the app and close the sign-up sheet (the cross in the top corner), you’ll be on the home screen of the app. If your document doesn’t appear here, go to Items, then select the source. I downloaded my document onto my phone already for this how-to, but you can integrate various cloud storage platforms if you wish alongside your phone’s built-in storage.
- Select your document, which takes you to the screen on the left. It may also look like the screen on the right if the app has “Liquid Mode” reading enabled (which you can toggle with the water-drop icon on the top row). This makes for a more immersive reading experience but doesn’t make a difference to adding a signature.
- To sign, tap the big blue button in the bottom right with the pen symbol, then select ‘Fill and Sign’. The Fill and Sign and add signature options are on Adobe Acrobat Reader
- Navigate the document by scrolling and zooming in and out by pinching as you would on any other app. When you reach the part you need to sign, tap the pen icon in the bottom right, then Create Signature or Create Initials as you need.
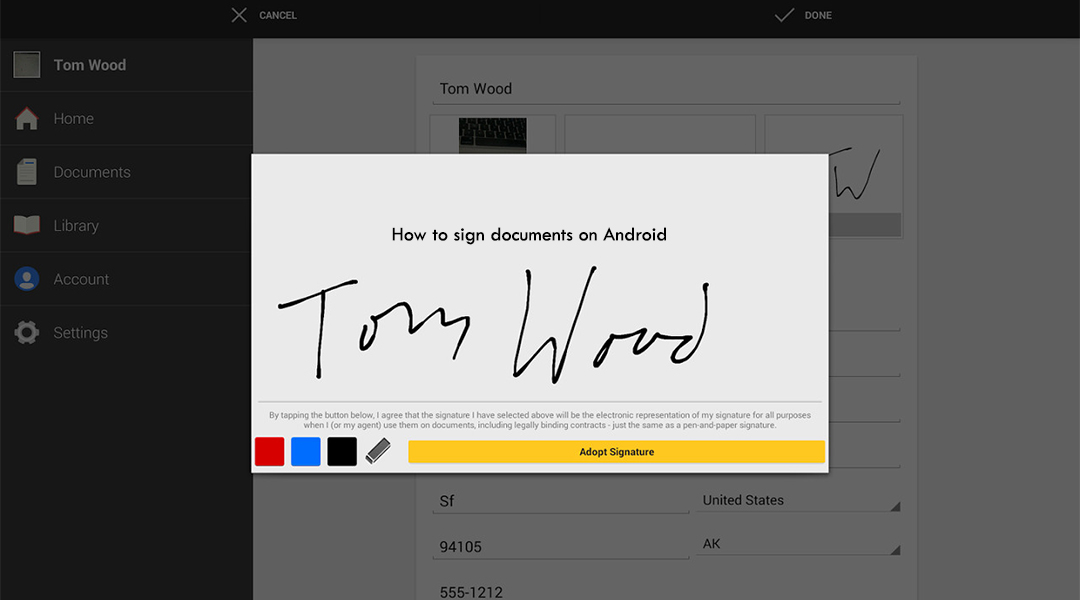
Choosing to Create Signature flips the screen to landscape mode so you can now draw your signature out with your finger. Alternatively, you can browse for an existing image of your signature or scan one with the options above.
Hit clear if you want to try again, and toggle the Save to Device button depending on if you want to keep this signature for future use. Then, hit Done.
- Now back on the main document screen, tap where you want the signature to go. Use the handle with the double-ended arrows to increase or decrease the size of your signature as needed. Then tap the checkmark in the top left and then the back button in the top left corner when you’re done. Your signature is now saved as part of the document and can be saved, sent, or shown to whoever needs to see it.
How to sign documents on Android with Adobe Fill and Sign
Now let’s look at the process in Fill and Sign.
- Start by tapping the big ‘Select a form’ button in the middle of the screen. From here, select the option that will get you to the form you need. I selected from PDF file again here.
- When you’ve got your document open, select the pen icon in the top right corner, then Create Signature to draw your name (or Create Initials if you prefer).
- Draw your signature as needed. Tap Clear if you want to re-write your signature, or Done if you’re happy with it.
- Once you’re happy with your signature, tap the back button and you’ll be brought back to the document. Tap the pen icon again, then your signature to insert it into the document. Drag the signature to the correct spot and then use the arrow handle to adjust the size.
- Once your signature is properly placed and sized, you’re free to exit using the back button in the top right. Your document is now signed.
You don‘t need to print out a copy of your document to put your signature on it anymore, if you have a device, android, or iOS, you can do this with the steps given above. Further research can be done on Google.


