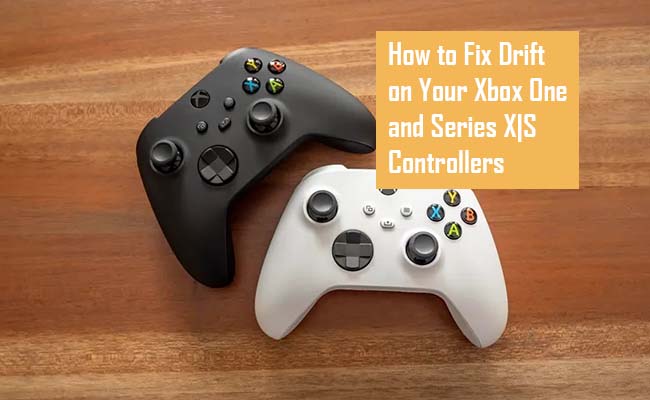
Let’s say you are in a boss fight, having the best moment of your game on your Xbox Console using your series X|S or One controller and you start experiencing drift on the controller. Trust me, that experience is one of the worst experiences you can have as a gamer. If you are experiencing that, here is How to Fix Drift on Your Xbox One and Series X|S Controllers.

Analog Drift on Controllers
If Analog drift is something new to you, it means your analog moves by itself in one direction without being touched. This has made a lot of gamers including myself frustrated and it has ruined a lot of games for tons of gamers.
These drift issues are common in different controllers across all kinds of consoles. Most of the time, it is typically just a result of wear. Nintendo Switch joy-cons are notorious for it, but even the PlayStation 5 players are not safe.
Simply put, the more you game, the more likely it is that eventually, your controller would begin to drift, and you would find yourself searching for quick and easy ways to fix it. Luckily, there are some easy steps to follow if you want your controller to drift fixed on your Xbox One and Xbox Series X|S.
How to Fix Drift on Your Xbox One and Series X|S Controllers
When it comes to How to Fix Drift on Your Xbox One and Series X|S Controllers, there are three very helpful methods that you can follow. Below I would be stating them for you.
How to Fix Drift by Using Compressed Air
Most times, when your controller starts drifting in a particular direction, the cause might just be due to a mechanical issue. Or it could just be a build-up of dirt and dust. Even as you try to keep things clean while you game, it could just be that it just needs a little bit of TLC in order for it to work again. If that is the case for you, the fix is quite simple enough and would not require you disassembling the controller.
All you need to do is purchase a compressed air with a straw. Also, this is recognized as “Compressed gas” or “Pressurized air.” In any case, it’s can of air that will lose the dust stuck inside various electronics. To do this, switch of you controller and remove the batteries if it is wireless.
This should be done with just a short burst of Air. Do not blow on one spot for long. While you are blowing air in, try moving it around to make it easier for dust to dislodge itself. Once you are satisfied, wipe your controller dry and the leave it to sit for some minutes before you try to turn it back on.
How to Fix Drift by Opening up the Controller
If fixing things without opening the controller did not settle the drift issue, you might need to dig deeper. This could involve taking out the chassis of your controller and looking into the mechanics. However, this will completely void any remaining warranty you might have.
If your controller is no longer warranty, it is the more reason why you should do this, there is basically no reason why you shouldn’t do this seeing as you would no longer be eligible for free repairs from Microsoft, so follow the steps stated below:
- First, flip over your controller and then remove the batteries. If the device is wired, unplug it.
- Press your finger right into the little cracks found between the chassis of the controller that is located on the parts that you hold on to while you keep on gaming. Pull the chassis off from both the left and the right part.
- Using a small flathead screwdriver and remover all of the screws that you get to see.
- Push up on the back side of the chassis until the front side finally comes off.
- Take out the analog that is causing issues for you.
- On the left side of the joystick, you would be able to see some grey clip made out of plastic. If you it is loose, you can choose to try and tighten it as much as possible and see if it fixed the drift. If not, then try the next step.
- Pushing your screwdriver in between the grey clip and the joystick socket and take on the entire clip by lifting it up.
- Re-assemble the controller and then try it out.
Contact Microsoft
If the controller that you are making use of is still under warranty, your best be is to contact Microsoft support for Xbox and try to either have it replaced or repaired. Alternatively, you can choose to contact the store where it is bought and report that its is malfunctioning.
Most times, you can choose not to even speak to Microsoft in order to get this issue resolved. Unfortunately, if you are making use of a controller that is already a couple of years old and the warranty has expired, you would be faced with more limited options.


